Backpack received
il y a 7 ans
Hi all, i have received my new backpack. (You know what, im happy ;) )
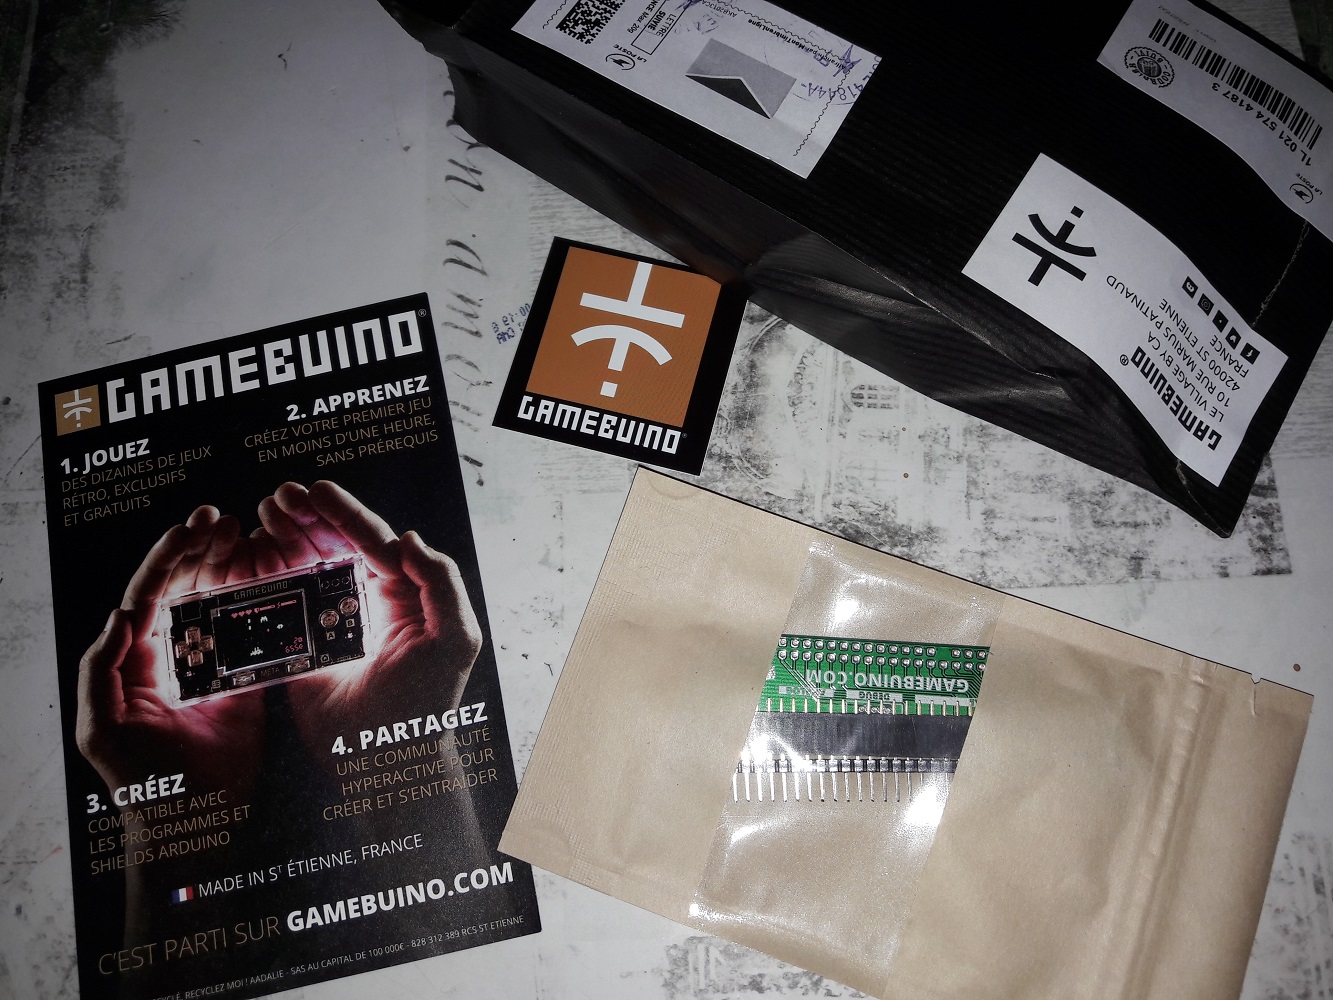
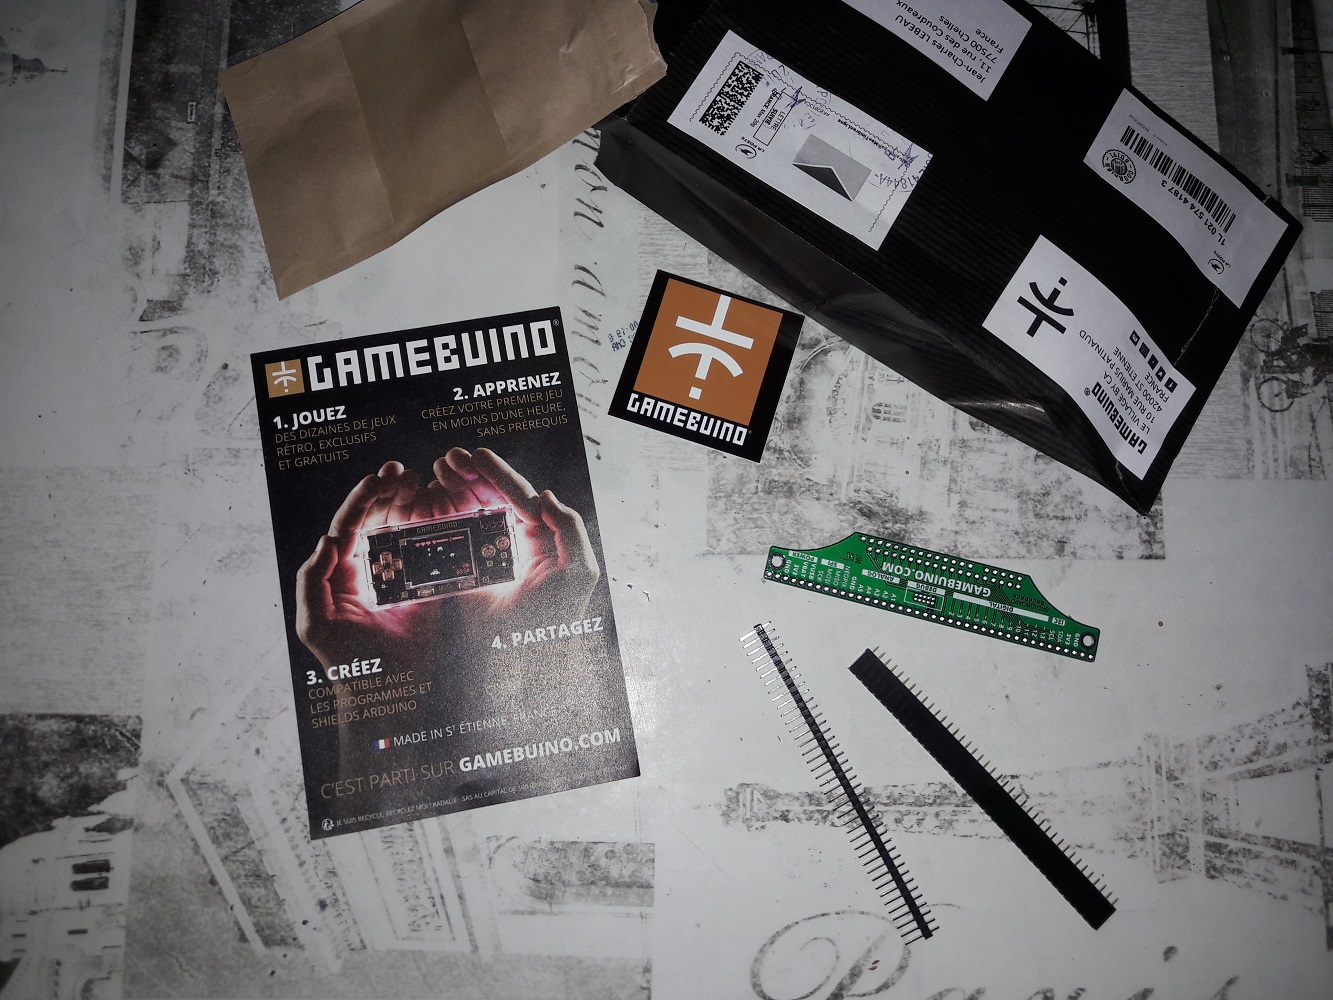
So i have cut the long connector into 3 parts: a 5 pins, 14 pins and 19 pins.
First question: does we solder the pins on the backpack for its works ( i think yes, but have to be sure as spacing is short between pins)
Second question the other long connector is male / female. It's great to plug wire in but if you want to plus quickly your backpack, you should have a male/male, no ? Another idea, if you have a long male / male pins, you could solder it and plug up or bottom as you need a female/female connector to plug wires in when you need, no ?
It's just questions to perfect it and maybe you can propose an already solder version in shop because if we need to solder the pins, it's not so easy for beginner. I wait confirmation before doing more. As i hope that my experience will help other to do their.
NEW il y a 7 ans
So, nobody atm, so i will continue: for me the connectors have to be solder so i do.
Preparation

Soldered


Now its can be pluged in the large breadboard.
It's time to test. For test i want only turn on and turn off a LED.
So it's time to make the plugs

Now, i write the little program:

And i test
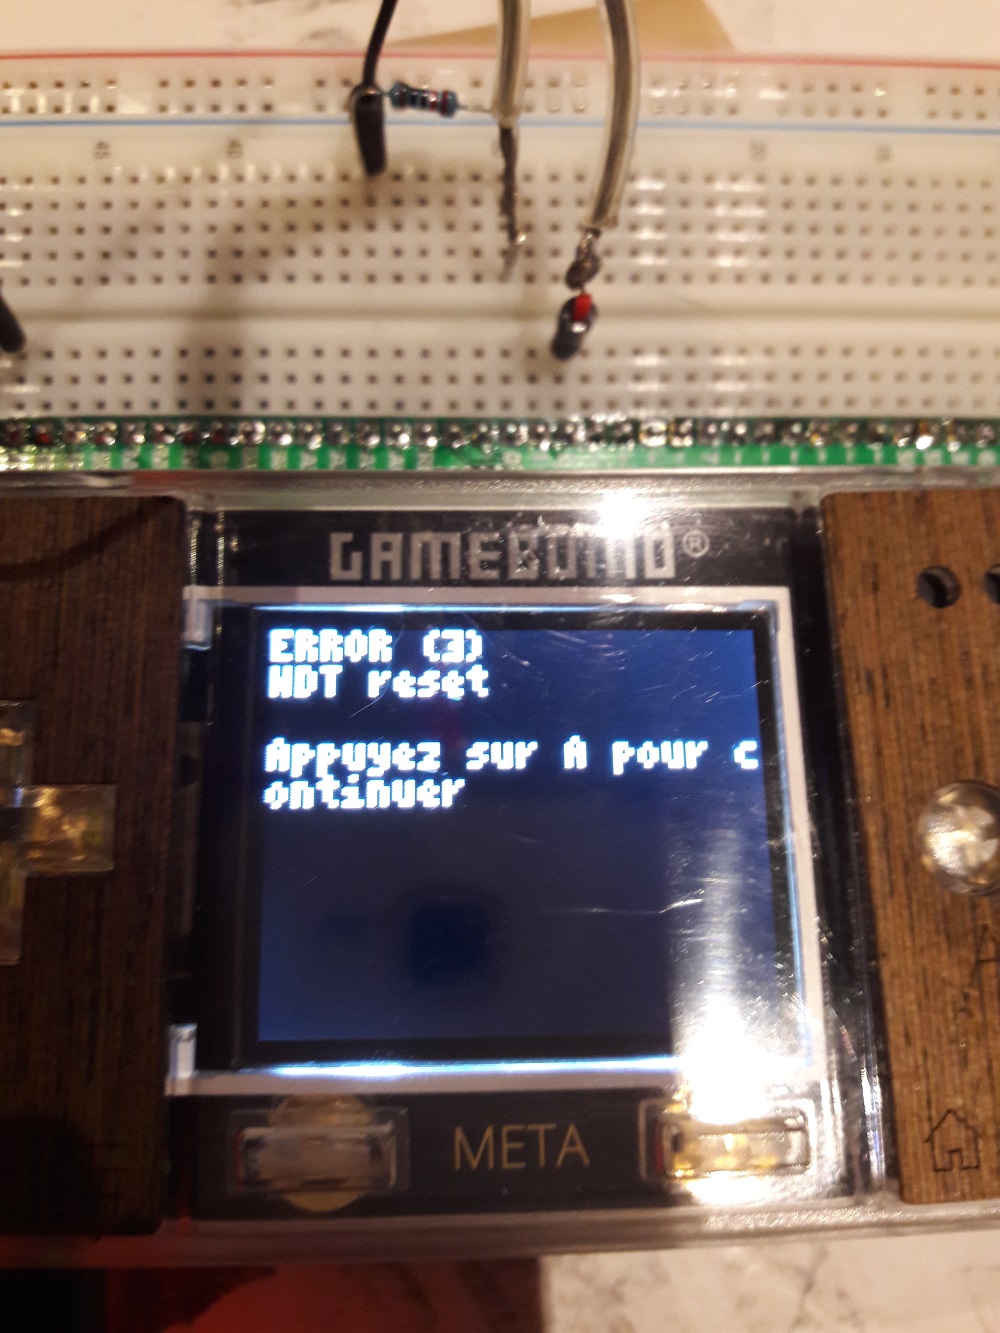
Saperlipopette !! And i remember the advice of Aurélien: WDT reset happen when you make the init of the META too late but me i had even not done it... I thougt about the Arduino commands but i had forget it was a META and that i had to init it first...
I have added the line in the Setup() and its make this program (if you want one to test your own backpack quickly)
#include <Gamebuino-Meta.h>

const int LED = 2; // La broche 2 se nomme maintenant LED

void setup() //fonction d'initialisation de la carte
{
gb.begin();
//contenu de l'initialisation
pinMode(LED, OUTPUT); //On demande à mettre la broche 2 en sortie
}

void loop() //fonction principale, elle se répète (s’exécute) à l'infini
{
//contenu du programme
digitalWrite(LED, HIGH); //allumer la LED
delay(1000); // attendre 1 seconde
digitalWrite(LED, LOW); // Eteindre La LED
delay(2000); // attendre 2 seconde
}
Yes comments are in french, sorry. My tuto will be too and i hope that someone will be able to transate them because it's will be alot better than if i write in english...
I test, and its works !

I have add the schemes on picture: GND -> resistor (220 Ohms). Resistor -> Catohde of the LED (-). Anode of the LED (+) => pin 2 of the backpack.
Test OK. Backpack ready for real use ;)
NEW il y a 7 ans
When schemes is done, you can pins to test pins 0 to 13. You can go quickest if you add more resistors and leds. You can test this way the other GND. We will make other test for the power and analogic ports but i'll make it as quick tutos.
NEW il y a 7 ans
gb.begin() is always needed as it does a bunch of other initialization. That is why the program fails to start if you don't add it.
NEW il y a 7 ans
Yes, that's true. I had just to think i had not an Aduino but a META. It's very logical but... when you think about your program, your forget easy things... Im sure that this error will happen to some others and i hope they'll find solution with this experience.
Sorunome
il y a 7 ans
Yeah, the error message is not very clear currently.
NEW il y a 7 ans
Thanks for your feedback and the pictures ! What was the problem with soldering, it seems that your managed to do it just fine ? :)
NEW il y a 7 ans
Yes, it was logical. The solder on the pin line isn't too difficult but i'm aksing me if it's not a little complicated for beginners to make it for pins who connect to the META as it's a 2 ranks and maybe the beinners can only use the breadboard without solder (so they may not have to buy the soldering iron in a first step and buy only if they like it and want continue to make electronical).