Hello,
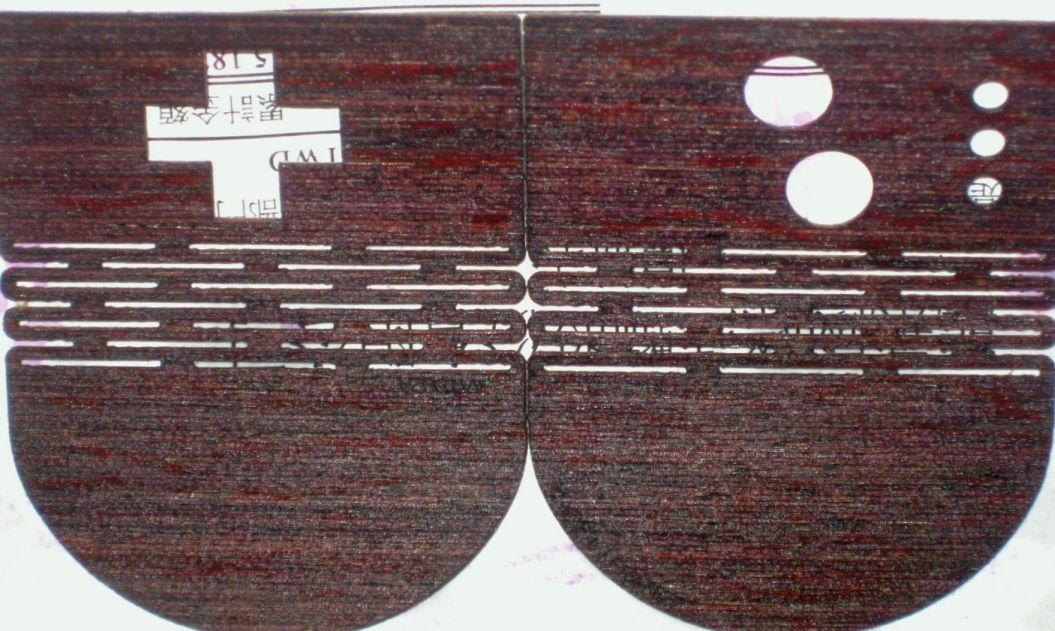
This one thing right in the beginning: I really like how the (natural) wood skin on the Meta Deluxe turned out. It feels great, the fit (at least on mine) is impeccable and Wenge is a nice wood, nice golden highlights in it.
Yet, brown is brown, so maybe you'd like a different color. Many different techniques can be used of course, but I'm going to use here a water soluble solution made with dye-based ink.
Also, 'Haste makes Waste', please work deliberately and carefully.
What will I need?
- This color mixing tool: http://trycolors.com/
- some fountain pen ink (color of your choice) (even a few drops from a cartridge will be enough),
- a medium width, soft paint brush,
- (optional) a hairdryer for quick dry times
- some spray paint transparent varnish (any hardware store stuff will be fine, no need to buy a fancy brand for this),
- some protective oil for wood (I used Ballistol because it's a great product)
- some coconut butter (I suppose this can be optional)
1st step, consider the color mixing tool. Because our staining solution is translucent we can only produce colors that have the natural brown of Wenge 'mixed' into them. You can add more color into the mix, but your result will become darker and darker as well. Saying: a brown thing cannot become e.g. bright pink with staining, it's not possible.
Thus, on the mixer we'll use 1 part yellow, 2 pts. red, 2 pts. blue, 1 pt. green, and 2 pts. black (or #60462B) for the brown that we already have (It's close enough a match anyway). So keep these 8 parts in mind, but re-create now the ink that you wish to use. Re-create the color as it looks on paper. If we wanted to use Royal Blue ink, we'd just use 8 parts of blue (to mix with our 8 parts for brown equally); for purple (I have used that) it was 4 blue, 4 pink; with red ink maybe 5 red 3 black.
You can see what we are doing here, we are mixing the brown that we already have in the wood with colors that we can get from inks. This way we can see what's possible, and what isn't. It's a bit time consuming, but it's important, so you won't be disappointed later.
2nd, now that you have decided on your ink, make a solution. Use 2 pts. water and 1 pt. ink. About 20 drops of solution will be enough. We are making the solution with more water than ink so that we can apply it in more than one coat, controlling our results much better.
3rd, prepare your work area and the wood skin. Because the skin is untreated wood (acc. to maker Rodot) we need to do nothing to prepare it, but make sure that it is clean and oil-free.
4th, lets apply the first coat, apply it evenly and with long strokes, not too dry especially on this first coat. Let it sit just a bit for the wood pores to open up and absorb the solution. You can use a hairdryer (low-medium) to speed things up after that.
5th, How does it look? There should still be quite a lot of the brown and golden streaks visible. You'll probably wish to apply a 2nd and 3rd coat of stain. Be careful though and don't overdo. As we have learned the color can only get darker and will also become flatter as nuances in the brown get covered up.
6th, let's stop here (and think for a moment), 3 coats should be enough really.
Let's consider though: our dye-based solution should be water resistant once properly dry, but not perfectly so, and what will happen when we treat it with oil? Anyone's guess really. So, we should fortify what we have so far with one (only one) coat of Poly-Urethane spray-on varnish. Be careful, spray it on gently, a thick coat of that is never, ever good for anything.
6.2 Let the varnish dry for 1 hour, then use some crumbled up paper to 'brush it out' a bit vertically. This way you can get a more even sheen from it. Then, let it dry some time longer.
7th, almost done now: Prepare your oil. I recommend 1 part oil and 1 part coconut butter. Coconut butter (smells of coconut) but also has anti-fungal properties. Which I think is good for something that will get sweaty.
You won't need more than a teaspoon in total. Mix it, then apply it with a soft cloth to the newly stained wood skin, don't soak it, but be generous with the oil.
8th, Let it dry;
you are done! - Yay! - How does it look?
In the end, here are photos of how my skin turned out. 1st, after 4 coats of stain (but should have stopped after 3) 
Then, after 1 coat Poly-U. varnish (so shiny):
And lastly, all oiled up and finished: