If you have already attended the first Academy workshops to get started with your Gamebuino META, you should already be able to program simple games like Pong, Tap-Tap or Egg-Catcher. Congratulations, this is an important first step for the future.
Do you want to learn how to program games that are more graphically polished? Do you want to discover how to animate sprites on screen and make them evolve in a real video game setting? This tutorial is for you!
In order to be able to display the graphic elements that you have carefully drawn with a sprite editor, you must first understand the basics of how to display and animate images on the META.
The purpose of this tutorial is to help you better understand how to integrate images into your games, and bring them to life through programming. I won't talk about the artistic aspect, or even how to use the graphics tools to create the images, but rather about the technical constraints that you will have to deal with in order to display them on your Gamebuino screen.
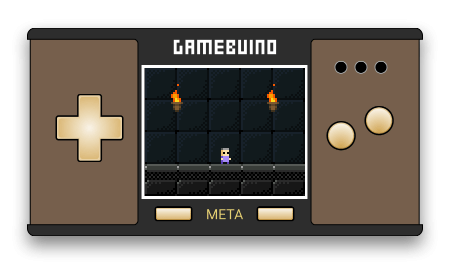
By the end of this tutorial you should be able to control an animated sprite to move it around a game scene that is built entirely from a set of unit graphics blocks called a tileset. You will also know how to stream images from the micro SD card to animate splash screens or transition sequences between two levels in your games.
The tutorial is available in English and French. English is not my natural language, so I apologize in advance for any awkward wording I may have left out during the writing process. I have tried my best to keep the text from being too painful to read. I hope not to lose too many people on the way… And I'd like to take this opportunity to thank Tom for taking the time to proofread this version and for pointing out a few heavy wordings.
To view the tutorial, please click on the following link:
Handling images on the Gamebuino META
Have fun!
You like this?
Last comments


Merci beaucoup pour ton retour @lezardo ![]()

Comme mentionné par beaucoup de personnes, excellent tuto qui devrait faire parti de la doc officielle! Beaucoup plus explicite que la doc API pour comprendre le fonctionnement interne des fonctions de la librairie graphique gamebuino. Bravo pour ce travail pédagogique!
you are doing well thank you for sharing